Wednesday, 16 December 2020

Kaisercraft amethyst mini album 7 x 9 1/2 inch

 hi everyone  

hope this finds you all Safe and well,   I recently thought I would try to  shorten the length of my  album time ,   so here goes 

Im sorry the photos are all over the shop,  , the internet  was not playing nice tonight , I kept losing it  and then all the pics, all the photos were the right way when i took them , technology is lovely.  when it plays the game  lol 

                                             JACQUI'S  AMETHYST  ALBUM 


 I thought i would try &  simplify   &  create a  mini album  more quickly if at all possible.

Cricut   black cardstock .

So   am using  Kaisercraft   Amethyst  collection (  36 sheets to the  pad ) 

Kaiser   purple   washi tape 

collectables    from  Amethyst and  Flower shop 

Ribbon of your choice .*

** when adding  my patterned papers i  just trim off  1/4 inch smaller than the cardstock 


cut  8 sheets to   9 x 12 inch score  4 sheets  at  five  & half  inches 

score  4 sheets   at  half an inch  &  7 inches 

with remaining strips  cut   to 9 inches and  score along the long edge at half an inch.

4 pieces   10  by  4 inches score at  half an inch each end  ( this is your binding  hinge  ) 

4  pieces  10  by 4 1/2 inch scored on 3 edges 

cut 2   of  6 1/2  x  3 inch score  on 3 sides at  half an inch. when adding this to page one ,place the bottom one  on first , now with the  2nd one only glue the two sides i use  the third  score to slide down  under so packet goes  right though  and you have a smaller pocket at the front you can add  another photo  with a  mat. 

cut 2 pieces at  9 x 3 1/2 inch  score  on long side at half an inch

1 piece cut to  5 x 10 inches fold  in the middle  &  cover with papers  ( for  first page ) 

trim    nine pieces   8 1/2 x 4 1/2  black cardstock 

trim    eighteen   patterned  papers    to   8 1/4 x  4  1/4   and glue to  black cardstock these are  for inserts  . 
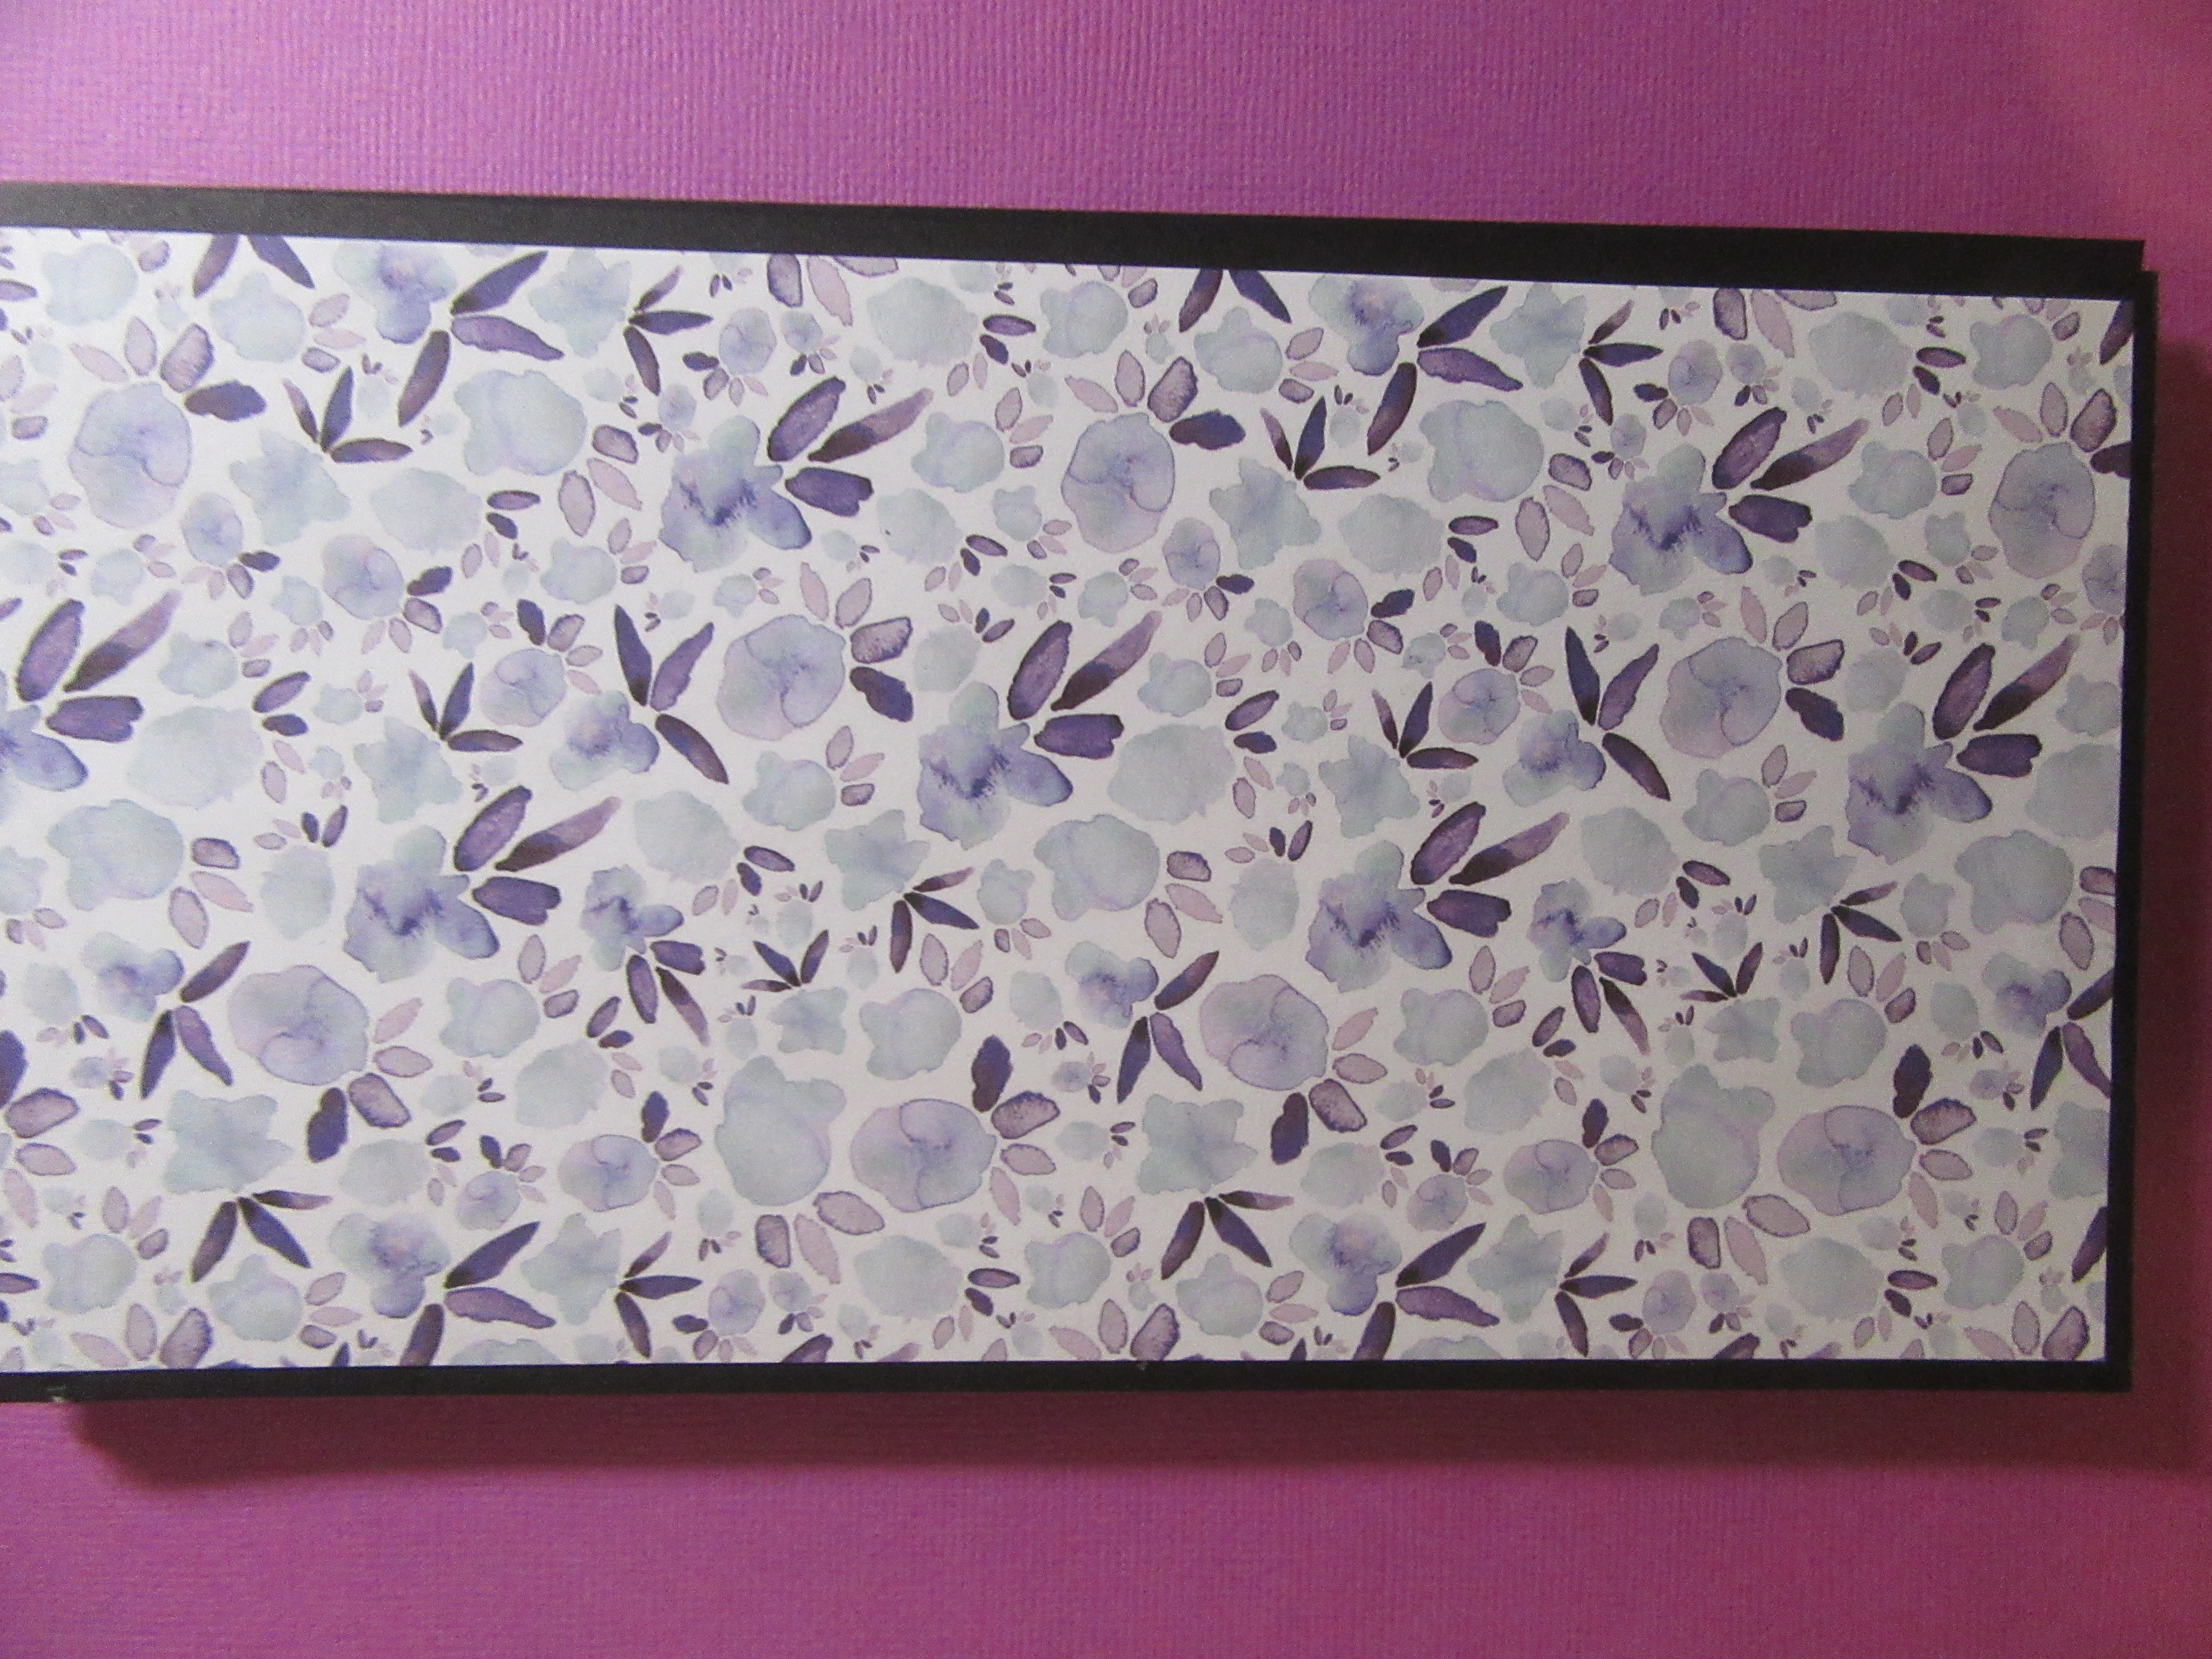

Patterned papers  i  have cut   cut 27 sheets   to eight  &  three quarters  and then i have just cut to each page,as i get to it  & measure  the short sides   

INSTRUCTIONS 

grab  your cardstock that  is  scored at half an inch,   fold  , flip over to page 4 ,( large edge )   now with  the 10 x 4  inch  glue to   the right hand side of  that page , this is your binding margin , you should be able to put your fingers  though  it ,   

with    the  cardstock thats  scored  2  times ,  glue along the  inside of the   half inch and place it under  the  small page you just created ,n the right hand side , this gives  you now page  5 , page  6 and page 7. 

On page  5 add the  10 x 4 and half that has been scored  3 sides,  miter the corners and glue  or tape   not on the edge  but about a eighth of  inch away from edge , you want to open page  with no hang ups  placing it on the edge will  be tight  on the page when you turn over so  just  a little  way away from the  folded  edge is best . 

With the  3 inch x  9 inch  glue along  page  2  

 now you have done this  do the same with the other  3  bases ,   these are your  pages , 


 binding  hinge , 

cut  cardstock  9 x 12 inch , score at the  measurements below 

one inch,  1 3/4, 2 1/2 ,3. 3 3/4  4  1/2  5  5 3//4,  6 1/2 , 7, 7 3/4.  8 1/2.  9 1/2   trim off excess if you want to  , i wrap this around  the  chipboard for added strength  but you dont have to  

glue together the  two  three quarters of an inch together . this makes  4  hinges,  if you dont have many photos  you need only make  2  and then your binding  edge will me smaller as well 


chipboards

cut to  7 " x 9 1/2 

1 cut     9 1/2 x 4 inch 

i usually join the edges together with  cloth tape as its stronger if you are going to bend a lot , but you can  wrap with papers  if you like ,

I used to work in a printing factory so im used to this cloth tape  you can purchase at  bunnings or any cheap shops  lots of colours at   bunnings 

After you have  made the outside of the album  and joined the binding margin

  you can then add your pages  this is the opening  of  those  4 inch   pages,  i glue with red tape as well as  liquid glue as its going to be opened a lot  , if you are like me and love  going though your albums after  creating them 


ENJOY 


thanks 

if you have any problems  im on Facebook , please message me. 

ENJOY  

until next time  stay safe and well  


Thursday, 19 November 2020

Jacqui's first class at Mixed Gypsy's Scrapbooking Shop

                                                             Stationery Box  1st class  18TH NOVEMBER 2020 


Today  im using  the beautiful  paper Uniquely Creative   -  Something Blue , my favourite colour, everything seems to  work out  lovely when i work in blue,  although other colours do  look good also   

INGREDIENTS  USED 

SINGING THE BLUES    UCP  2112 

DELFT  BLUE                           2111

MONDAY BLUES                    2110

TRUE BLUE                              2109

BLUE YONDER                         2115

FUSSY CUTS                             2114 

LIGHT BLUE CARD STOCK 

RIBBON

 if you like you can cut out your FUSSY CUTTING  ( 2114 )  ,so its all ready to add when required you dont have to do the same as me  , you might like butterflies where my flowers are , or  like  lots of flowers at the top or elsewhere though the box , just have a play . 


Lets begin

when you have scores  please   press down firmly to   create crisp edges   as it makes it sit better . 

BASE 

 singing the blues  on the side that  you trim the  strip off , move  paper in to cut at 10 inches ,  so page is 10 x 12 inches, ( when you fold it up , it has flowers at  the top and bottom ) 


On that edge you just trimmed    score  at  2 inches and  8 inches , turn paper  on the 12 inch side  score at  5 inches and 7 inches


 in the part that  is between the 5 &7  "  cut to the first  score mark as  shown 

i find it easier to  add  the  sections while  flat ,  so lets add the   the next section 

starting    with Blue yonder,  please trim off the  top  tags   cut  around the first  three keep intact, as this is going to make a folder,   punch hole into top of 3 ,later we can add ribbon 


then with the remaining paper  cut  these measurements  as  per in picture 


cut  1   piece  5 3/4  x  1 3/4  this goes in the middle  

cut   1              5 3/4 x 3  1/2 

cut 4                4 3/4  x  1 3/4. stick  all down except  the  2 at the top,  fold   up the back glue small bit and add your papers  over the top,  to cover  the joins ,as picture shows

add  the calendar 


POCKETS 

cut 2 strips   from True blue  2109 ,    1 cm (  near half an  inch )  strip of  the striped papers  we will use it shortly 

then  starting with Monday Blues   2110 , 

cut   one  peice   7 1/2  x  4 inches,  score  at  3/4  inch on  3 sides 

next  cut  one at  5 1/2  x  2 inches  score at   half an inch  then another half an inch in , on both edges as shown 


cut  one piece   4  1/2  x 2 inchs score  the same as above 

with that stripe you just cut off  add to the top of your pockets  you   dont need to  add to   parts where  scored as you wont see this 


glue  the small   &   the medium  pockets together  as shown   then add to  larger pocket  ,then glue  into the box you  have created earlier.

 three way folder ,    you have pre cut out the  tag so now cut with blue cardstock 

3   pieces   at 2 inch  by  3 1/2  inch add these to  the insides of your  tag, tie with ribbon 

 place  your tag  and folder in the  box , 

add flowers to the front  on small  pockets ( or butterflies) or leave plain  your choice 


LID 

Cut  Delft Blue   (  2111)    to  6 " x  10 1/8  inches 

 score  at 2 inches  &  8 1/8  on long side  

score         2 inches &  4 1/ 8  along the other edge cut like the base  

CUT 3 pieces  at  5 3/4  x  1 3/4 add to top and 2 sides then close up the  

cut 2 pieces at  1 3/4  x 1 3/4"  inch these go to the short ends once folded up 

tape ribbon  around the middle and add a bow  .

that was the longest parts to do , the rest is easy ,( so i say ) 

CARD


 cut blue cardstock   to  4  1/2  x 9  inches , fold in half 

get  true blue  (stripes)    

and cut to   4.1/4  x 4 1/4 inch add to card 

get  blue  bayou   cut out  4 x 4 inches i   used the top right hand corner one  so the bird was in centre

add your fussy cutting  bits i have added   flower  only glued  down the middle and added the  circle love you  

  ENVELOPE


 BLUE BAYOU  -  cut  6 inches  x  10  1/ 2  inches   score  the  6 inch side at half an inch 

  turn and  now score  at   4 3/4 " and at  10 inch  .  that small part is  the flap for envelope here you can corner round the edges  or  leave square 

seeing  the  envelope is patterned ,  i have  cut out a rectangle from  Delft Blue  and placed for writing on  


hope you  enjoyed  making this  with me  

 end of class  

if you have any problems , please pm me  on Facebook and i will endeavour to help you  

for other ideas   you can add a  pen, to the box ,  a different size cards,  or just use  up all the tags 

  or if you have a card maker friends  add blank  cards & envelopes, and some papers, 

sewing friends one can add ribbons  ,needles  scissors  buttons

scrapbooking friends can be washi tapes ribbons,   patterned papers,  string, lace,  

 potpourri  hankies,   

its all up to your imagination  have fun 

Jacqui McCully 


Tuesday, 15 September 2020

Jacquis Septembers off the page project

                                                      Off the page project 


Papers   Christmas joy ,  ucp  2081   keep black strip for later

Tis the season  ucp  2082  Lid 

believe in miracles  ucp  2084 

pink ribbon 

calendar draw in red pen each page 


Cut  Christmas joy to  10  x 12 inches 

score at 2 " & 8  inches

turn  and score at  5 "  & 7 "

cut a section between 5 & 7 inches , on both ends 

cut 1  tis the season to  4 3/4 x 5 3/4 and pen around the edges 

cut   2 -  tis the season  1 3/4 x  4 3/4 

cut  1  believe in miracles 4 3/4 x  5 3/4 

cut  1  large pocket  7 1/2 x  4 inches,  place black strip along the top,  ,score 3/4 "  on other 3 sides 

cut  medium  pocket to  5 1/2 x 2 inches score at  1/2 and one inch both ends

cut small pocket,   4 1/2 x 2 inches  score both ends at  1/2 and one inch both ends pen around the front edges  on  both  small and medium  edges ,

press down all folds crisp 

now we are ready to assemble , 

bring up the 2 small edges  in the middle and glue or tape  the back of the  box , add  papers  on top, 

I   glue the  small &    medium  together,then join to the  large pocket as its easier for me to handle ,

 in your box,  i have added  a tag,  mini  folder, and Christmas card and envelope ,but depending 

what you want to use it for  for crafty friends , you might like to add , tags, ribbons,  washi tape , small papers,  brads, 

for a  sewer  maybe  scissors, thread,  needles  buttons 

 for the card  maker  maybe  pen, stick it notes,     5 Christmas cards or  birthday cards   

or pot  potpourri ( in bags  )   the choice is endless  we best do the lid  hey 


THE  LID   

once upon a Christmas   warm wishes,  ucp  2082 

Believe in Christmas  ucp  2084  ( house section  )  

pink ribbon 

Cut  6  x   10 1/8 th ,score at  2 "  & 8 1/8 inches  long side 

turn and score at  2 inches and  4 1/8th  inch 

cut  in the middle the same as  the base, 

 glue pink ribbon around the middle ,  usually i  tie the bow together ,but seeing the ribbon was thicker i  added the bow later ,

on the top ,  with the picture of the house i have made this  5 3/4 x 1  3/4 draw around  with pen 

I do hope you have enjoyed  creating this , if you have any problems , please let me  know , 

Until  next time 

Stay  safe & well. 

Jacqui McCully 


CHRISTMAS CARD jacquis September dt

 CHRISTMAS CARD  &  ENVELOPE 


 Believe  in Miracles     cut to  125 x 125  (  5 x 10 inches ) 

score in the middle 

cut out from story book,   2 houses,   ( you only need roof on one  ) 

cut out   Postal  Service   & tree  from Glad Tidings ,  ucp  2087

in cut outs ,  the word Joy  

cut  120 x 120  of same paper  with the houses on the bottom left hand corner Draw around  with red pen  

attach  the roof to base card,  then add the 2nd house using foam dots above 

place  the tree in the bottom left hand corner  and  the word joy to the bottom right and side of  card 

                                                          ENVELOPE 


CUT CHRISTMAS  JOY  6 X  11 1/2   INCHES, 

Score short size  along both   ends    at  1/4  inch,

turn , score at  5 1/4 x  10 1/2 

skim a small amount  off the bottom as when you fold it  up  it may  bulk up so just a whisker so its not tight , 

cut the  flaps corners  to suit   

Draw around  the front and  back flap  all sides ,  

cut out  postal services   from  Glad Tidings sheet  and from cut outs  get   one of the  postal  stamps  i have the reindeer on  


LAYOUT 2 OF SEPTEMBERS DT

 layout  2 


working with  family traditions  turn  sheet upside  down  (writing upside down ) and  trim off the strip as on layout one 

3 photos   4 x 6 ( cut down to 3 1/2 x 3 1/2 

1 photo 5 x 7  cut down to   (I have cut mine to  7 inches x  3  3/4 inches)

3 presents  &  3 baubles out of the cut out packet

blue ribbon

 distress  and ink all sides  like in layout one 

mat 3 small photos  to Merry & Bright  UCP  2086 

Mat the large photo with   Tis the Season  striped  part up 

distress the edges if you like 

 add 3 pieces of ribbon at various lengths onthe right side of the page , 

add 3 presents  to cover the framework at the top

then add photos 

your layouts are complete 


Septembers Mixed Gypsy's Design Team Projects

 welcome all to   Jacquis Septembers  projects to keep your mind active , from this  virus 


                                                   LAYOUT  ONE 

ingredients 

one 6 x 6 inch  photo 

packet of  cut outs

blue ribbon

colour blast  texture paste, singing the blues 

red/ rouge  pilot  pintor pen,  

papers  Once upon a  Christmas   Family  traditions  UCP 20185 

                                                           Christmas joy     UCP 2088


Trim off bottom strip & glue to the bottom of other side  

distress & ink  all edges 

cut out houses  bear with  tree

on blank sheet  colour in , i have used the holly leaves & have used , colour blast  texture paste and smeared  over the leaves , and coloured in the red dots  if you love  fussy cutting and like to add another colour, then  you can fussy cut  the  holly leaves  on Glad Tidings sheet

cut 3 flowers   &  cut out  the other circles  to make 3 sizes. you can crunch up  the edges and  ink 

I have placed these flowers over a part of my photo as there was something there i didn't want in the photo 

add  the Christmas sign and draw around the edge,

cut  out Tis the season  and attach a ribbon & bow