hi everyone
hope this finds you all Safe and well, I recently thought I would try to shorten the length of my album time , so here goes
Im sorry the photos are all over the shop, , the internet was not playing nice tonight , I kept losing it and then all the pics, all the photos were the right way when i took them , technology is lovely. when it plays the game lol
JACQUI'S AMETHYST ALBUM
I thought i would try & simplify & create a mini album more quickly if at all possible.
Cricut black cardstock .
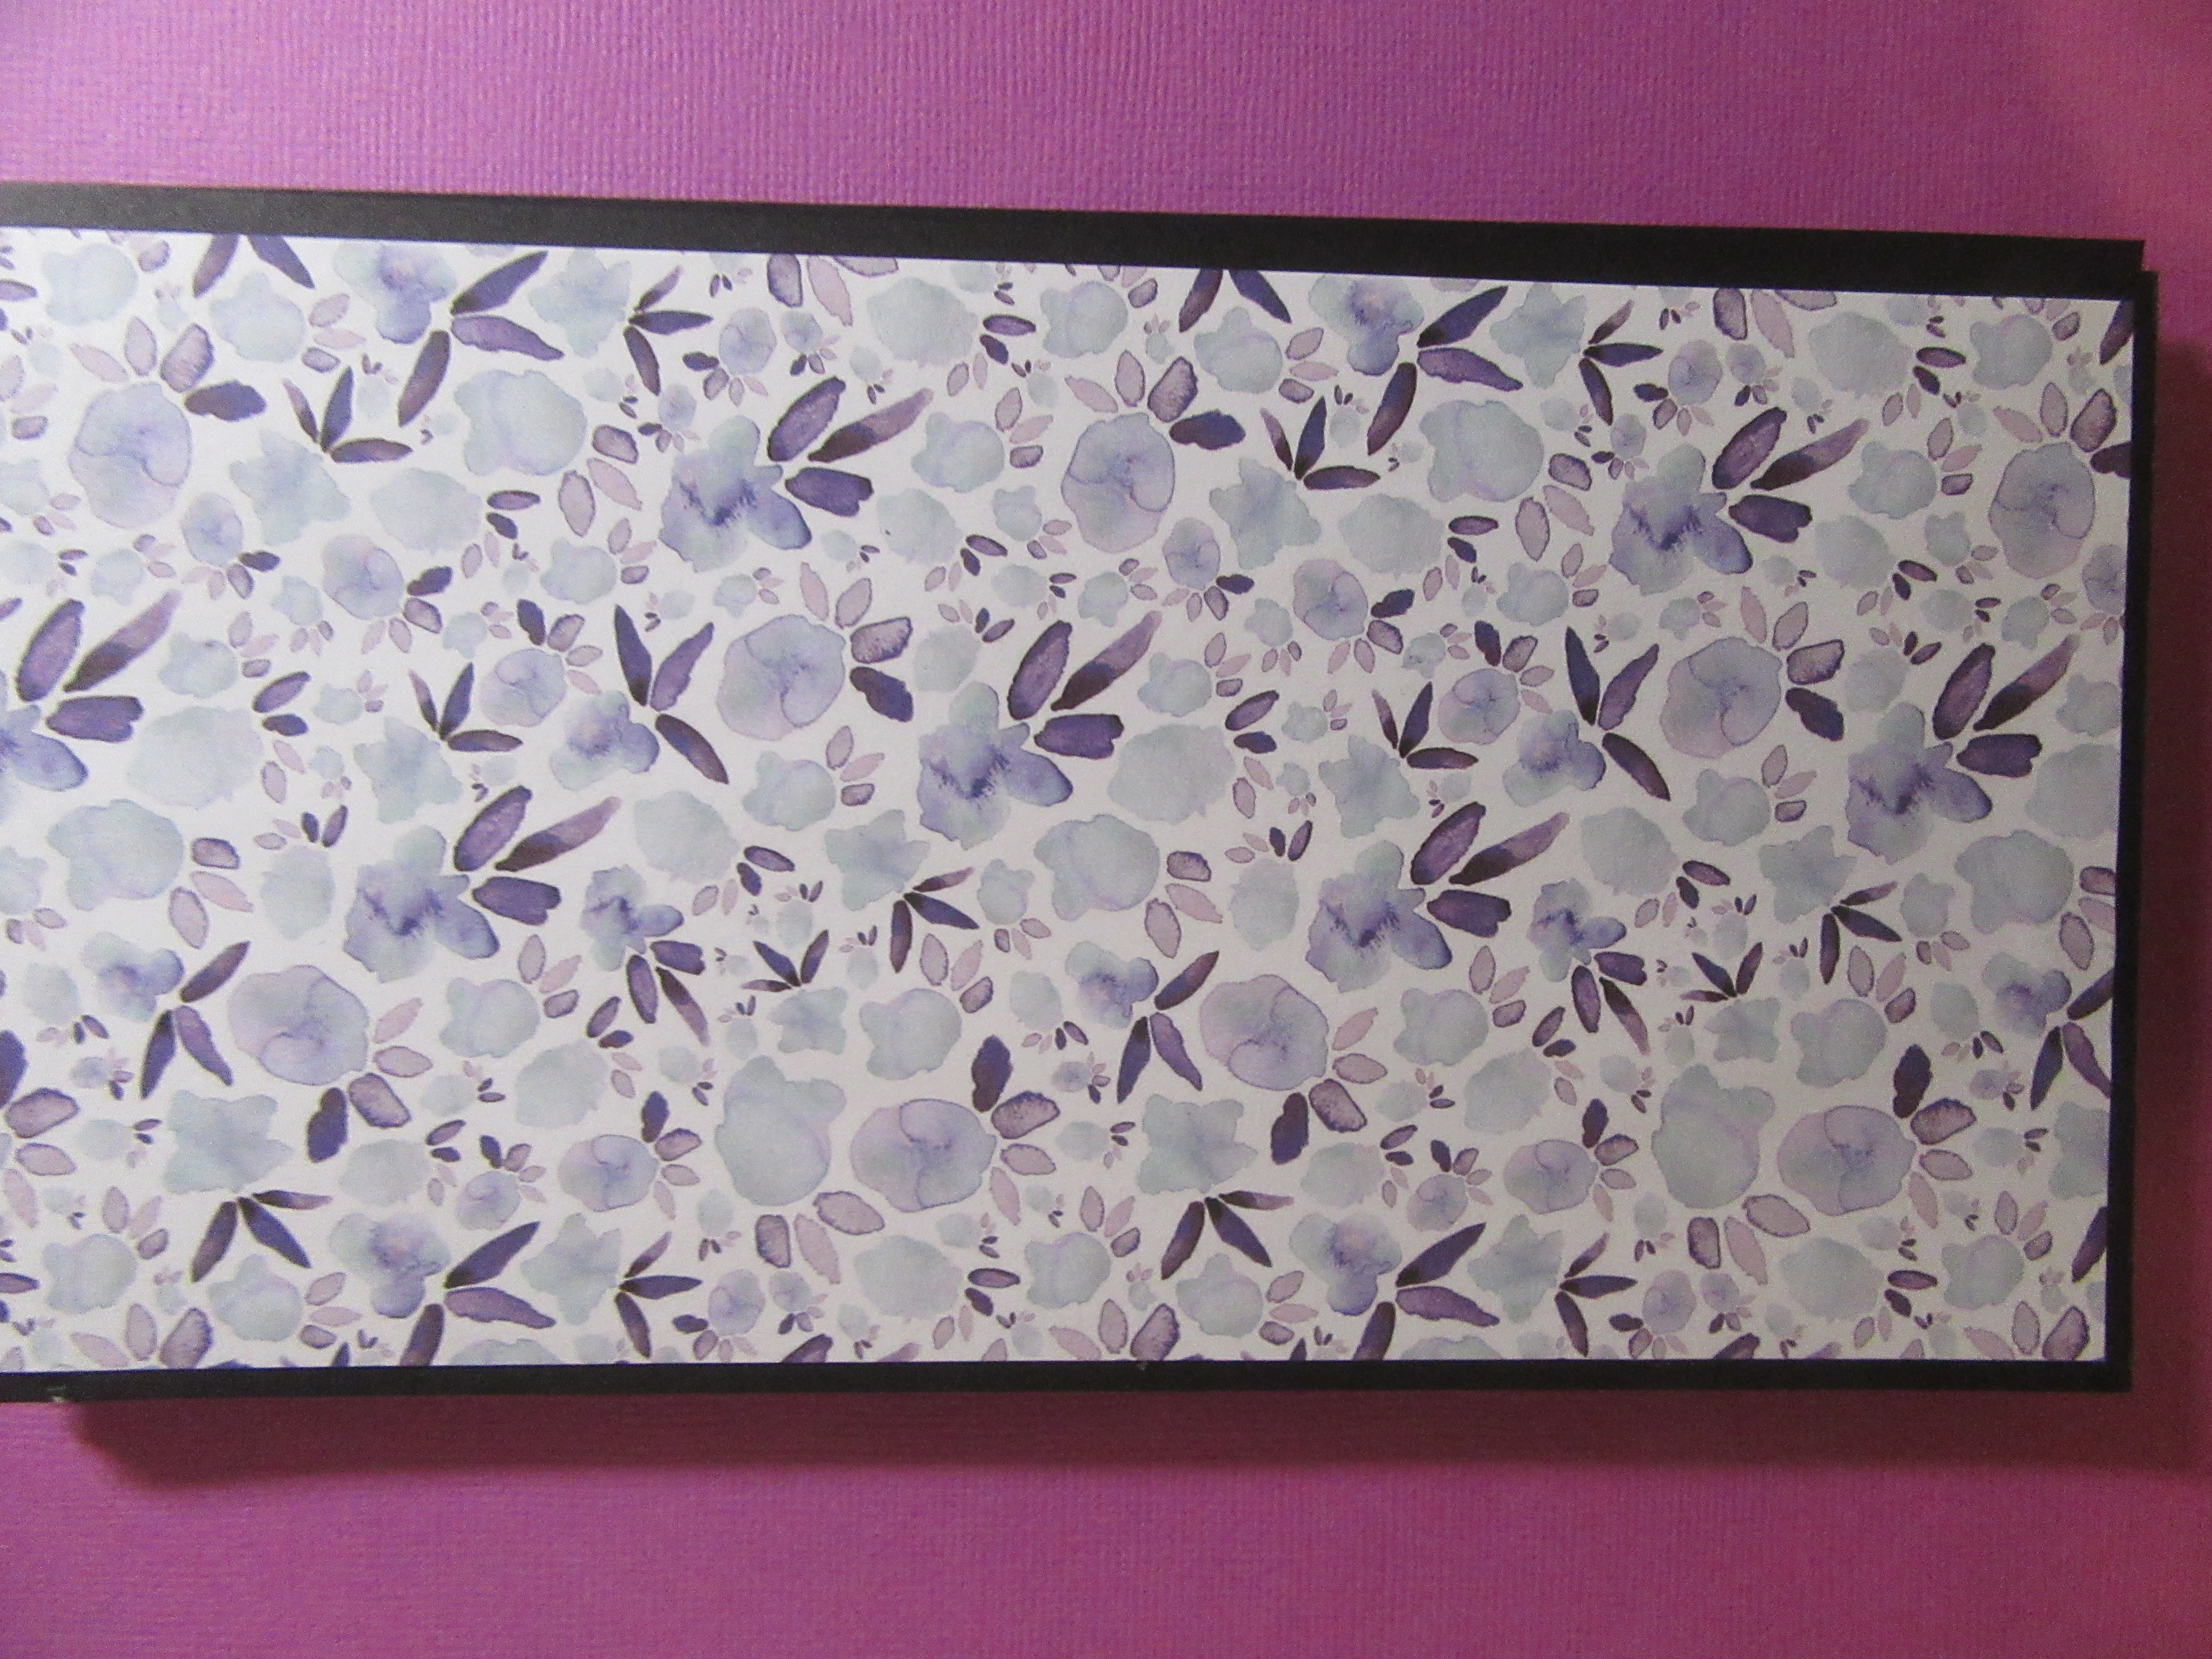
So am using Kaisercraft Amethyst collection ( 36 sheets to the pad )
Kaiser purple washi tape
collectables from Amethyst and Flower shop
Ribbon of your choice .*
** when adding my patterned papers i just trim off 1/4 inch smaller than the cardstock
cut 8 sheets to 9 x 12 inch score 4 sheets at five & half inches
score 4 sheets at half an inch & 7 inches
with remaining strips cut to 9 inches and score along the long edge at half an inch.
4 pieces 10 by 4 inches score at half an inch each end ( this is your binding hinge )
4 pieces 10 by 4 1/2 inch scored on 3 edges
cut 2 of 6 1/2 x 3 inch score on 3 sides at half an inch. when adding this to page one ,place the bottom one on first , now with the 2nd one only glue the two sides i use the third score to slide down under so packet goes right though and you have a smaller pocket at the front you can add another photo with a mat.
cut 2 pieces at 9 x 3 1/2 inch score on long side at half an inch
1 piece cut to 5 x 10 inches fold in the middle & cover with papers ( for first page )
trim nine pieces 8 1/2 x 4 1/2 black cardstock
trim eighteen patterned papers to 8 1/4 x 4 1/4 and glue to black cardstock these are for inserts .

Patterned papers i have cut cut 27 sheets to eight & three quarters and then i have just cut to each page,as i get to it & measure the short sides
INSTRUCTIONS
grab your cardstock that is scored at half an inch, fold , flip over to page 4 ,( large edge ) now with the 10 x 4 inch glue to the right hand side of that page , this is your binding margin , you should be able to put your fingers though it ,
with the cardstock thats scored 2 times , glue along the inside of the half inch and place it under the small page you just created ,n the right hand side , this gives you now page 5 , page 6 and page 7.
On page 5 add the 10 x 4 and half that has been scored 3 sides, miter the corners and glue or tape not on the edge but about a eighth of inch away from edge , you want to open page with no hang ups placing it on the edge will be tight on the page when you turn over so just a little way away from the folded edge is best .
With the 3 inch x 9 inch glue along page 2
now you have done this do the same with the other 3 bases , these are your pages ,
binding hinge ,
cut cardstock 9 x 12 inch , score at the measurements below
one inch, 1 3/4, 2 1/2 ,3. 3 3/4 4 1/2 5 5 3//4, 6 1/2 , 7, 7 3/4. 8 1/2. 9 1/2 trim off excess if you want to , i wrap this around the chipboard for added strength but you dont have to
glue together the two three quarters of an inch together . this makes 4 hinges, if you dont have many photos you need only make 2 and then your binding edge will me smaller as well


chipboards
cut to 7 " x 9 1/2
1 cut 9 1/2 x 4 inch
i usually join the edges together with cloth tape as its stronger if you are going to bend a lot , but you can wrap with papers if you like ,
I used to work in a printing factory so im used to this cloth tape you can purchase at bunnings or any cheap shops lots of colours at bunnings
After you have made the outside of the album and joined the binding margin
you can then add your pages this is the opening of those 4 inch pages, i glue with red tape as well as liquid glue as its going to be opened a lot , if you are like me and love going though your albums after creating them
ENJOY


thanks
if you have any problems im on Facebook , please message me.
ENJOY
until next time stay safe and well


